Thinking about a kitchen or bathroom remodel? You've probably heard the term 'plumbing rough-in' tossed around. It sounds pretty technical, and honestly, it is. But it's also one of the most critical stages of any project that involves new plumbing. Mess this up, and you're looking at major headaches, extra costs, and delays down the line. I've seen it happen too many times, believe me.
As a contractor right here in Chula Vista, I get a lot of questions about this part of the job. Folks want to know what it involves, why it's so important, and what they should expect. So, I've put together answers to the most common questions I hear. This isn't some marketing spiel; it's the real deal from someone who does this work every single day.
What exactly is plumbing rough-in?
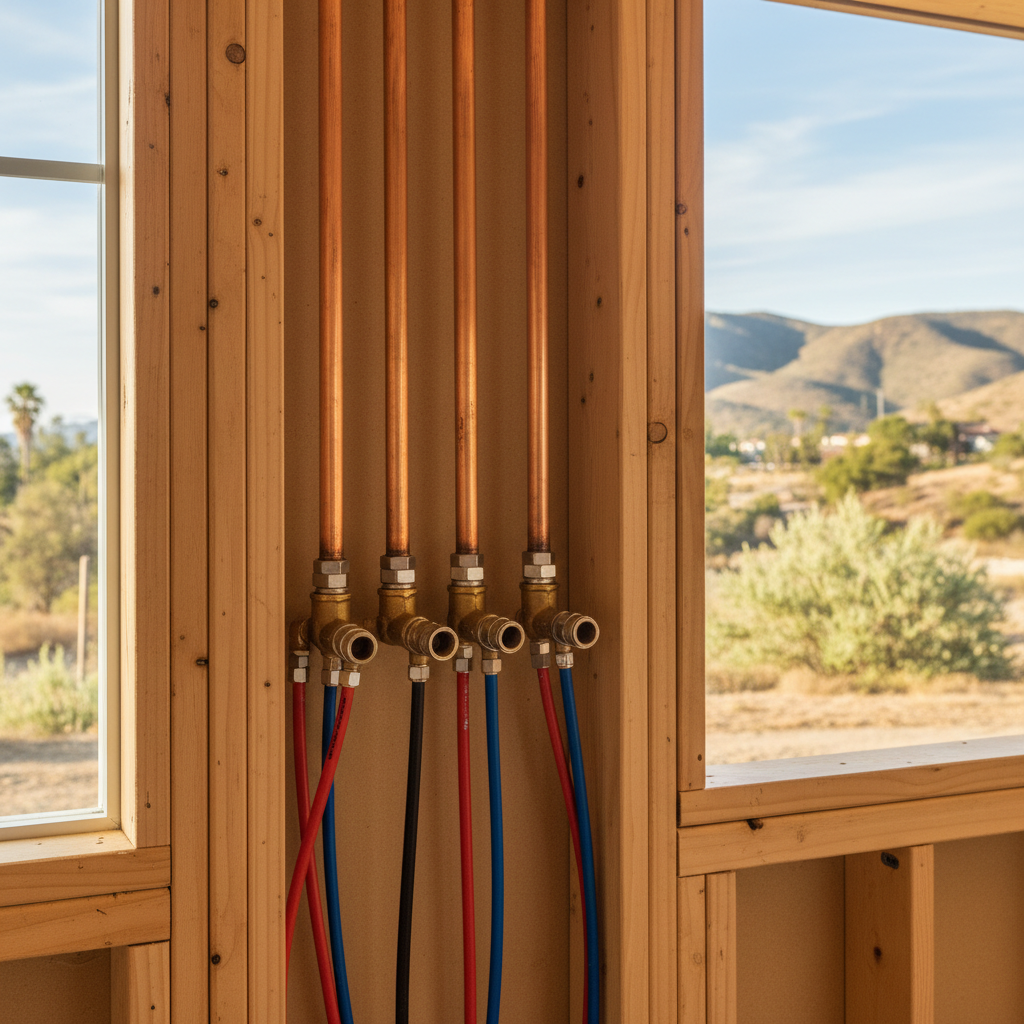
Alright, let's start with the basics. Plumbing rough-in is when all the water supply lines (that's hot and cold), drain lines, vent pipes, and gas lines (if you need them) get installed and connected within your home's walls, floors, and ceilings. This all happens *before* any drywall, flooring, or fixtures go in. Think of it as the skeleton of your plumbing system. You'll see pipes sticking out where your sink, toilet, shower, or dishwasher will eventually be. It's all about getting the infrastructure in place, making sure everything is properly sized, sloped, and vented according to code. No faucets, no toilets, no pretty stuff yet – just the bare bones.
Why is rough-in so important? Can't we just install the fixtures?
Look, if you try to just slap fixtures onto existing walls without proper rough-in, you're asking for trouble. Big trouble. The rough-in phase is where we make sure everything is up to code, that you've got good water pressure, proper drainage, and no future leaks hiding behind your new drywall. It's the foundation, plain and simple. If you cut corners here, you're going to pay for it later, usually with expensive repairs that mean tearing out brand new finishes. Trust me, you don't want to be cutting into your beautiful new tile because a drain wasn't sloped correctly or a pipe burst. What a nightmare!
Do I need a permit for plumbing rough-in in Chula Vista?
Absolutely, yes. For any significant plumbing work, especially new installations or moving fixtures, you'll need a permit from the City of Chula Vista's Building Department. This isn't just a suggestion; it's a legal requirement. The permit process ensures city officials inspect the work to confirm it meets current building codes and safety standards. Skipping the permit might save you a few bucks upfront, but it can cause huge problems when you sell your house, or worse, if there's a plumbing failure. Always pull a permit.
What happens during a rough-in inspection?
Once all the rough-in plumbing is installed, but before any walls are closed up, the city inspector will come out. They'll check a few key things. They'll pressurize the water supply lines to check for leaks, usually with air or water. They'll also run a 'drain and waste' test, where they fill the drain lines with water to make sure there are no leaks and that everything is properly sloped for drainage. They're looking at pipe sizing, proper venting, correct fittings, and making sure everything is securely fastened. It's a thorough check to ensure your system is sound and safe. If anything isn't right, you'll get a red tag and we'll have to fix it before they'll sign off.
How long does plumbing rough-in usually take?
That's a tough one to give a precise answer for, because it really depends on your project's scope. For a simple bathroom remodel where you're not moving fixtures too far, it might be a few days. For a full kitchen and multiple bathroom renovation, especially if you're adding new fixtures or relocating everything, it could easily take a week or more. It also depends on how complex your home's existing plumbing is. Older homes, particularly those built in the 60s and 70s around areas like Bonita, often have cast iron drains that might need extensive replacement, which definitely adds time. It's not a race; it's about doing it right.
What are some common rough-in mistakes you see?
Oh, I've seen 'em all. One big one is incorrect pipe sizing, which can lead to low water pressure or slow drains. Another is improper venting – if your drains aren't vented correctly, you'll get gurgling noises and slow drainage. Then there's not securing pipes properly, leading to noisy 'water hammer' issues. And of course, not thinking ahead about future finishes. You wouldn't believe how many times I've seen a shower valve roughed-in too deep or too shallow for the tile and backer board that's going in. That's why it's critical to work with someone who understands the whole project, not just the plumbing part. At Heritage Kitchen Solutions, we plan for all of that upfront.
Can I do the plumbing rough-in myself to save money?
Let me be blunt: unless you are a licensed plumber with experience in rough-in work, absolutely not. This is not a DIY project for the average homeowner. There are complex codes, specific tools, and a lot of technical knowledge involved. One small mistake can lead to leaks, mold, structural damage, or even health hazards from improper venting. Plus, if you do it yourself without a permit and inspection, your homeowner's insurance might not cover any damage that results. It's just not worth the risk. Hire a professional. It'll save you money and headaches in the long run.
What's the next step after rough-in is complete and inspected?
Once the rough-in passes inspection, that's when the walls can start to close up. Your electrician will do their rough-in, then insulation goes in, and then drywall. After that, you're looking at flooring, cabinets, paint, and finally, the 'finish' plumbing – installing your sinks, faucets, toilets, and other fixtures. The rough-in is really the unsung hero of your remodel; it's not glamorous, but it's what makes everything else function beautifully. Get it right, and the rest of your project will go a lot smoother.